This manual describes how to configure SSL (Secure Socket Layer) for communciation between different Oracle WebLogic Server components.
Preparation
This manual describes the steps to achieve an configuration of SSL for Weblogic Server components. This installation is performed on an Oracle Enterprise Linux release 5.9 virtual machine. This virtual machine is hosted on a VMware ESX 5.0 environment. To configure SSL the following software must be installed.
This manual is specific performed on:
- Installing Oracle Service Bus 11gR1 OEL5.9
- Configuring Oracle Service Bus 11gR1
WebLogic security
There are two important aspects to be. For each WebLogic Server component (admin server, managed server, WLST client node manager, etc.) configured.
- A unique key to identify it selfs.
- What is authorized to communicate with the object.
The identity of a server is stored in an “Identity Keystore” and the public keys the “Trust Keystore”.
This “Key Stores’ holds the ‘Public’ and / or ‘Private’ keys. The keys can be created using different tools.
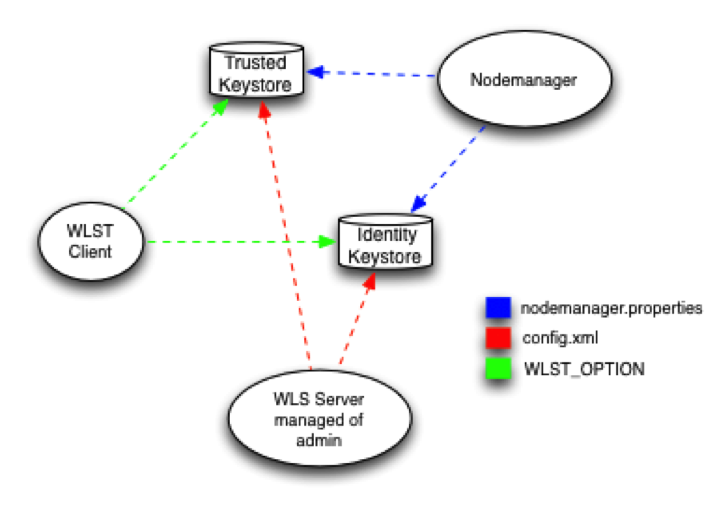
You can use a combined ‘Key Store’ with both the identity and trusted certificates, but for security reasons, the identity stored is separately configured and is used only by the ‘Host’ , while the ‘Trusted Keystore’ is shared becaus it’s not containing confidential information. The different WebLogic components can use the same certificate in a keystore as shown below.
By default, after installing Oracle WebLogic Server two ‘KeyStores’ are created the DemoIdentity.jks and DemoTrust.jks. This configuration may only be used for development environments.
When the domain is set into production mode and uses the above default ‘KeyStores’ then the Oracle WebLogic Server continuous writing warnings in the log file, apart from the fact that the log files become huge, it is also possible that there are important warnings and errors are overlooked.
The DemoIdentity.jks file is generated during the initial installation of the Oracle WebLogic Server, not while creating a domain and contains, depending on the platform, a certificate for both the ‘hostname’ or ‘fully qualified hostname.
Certificates and Key Stores
You can create your own certificates also called “Self-Sign certificates’. In this manual, we will use the Java tools and keytool to create and configure the certificates and keystores.
Once the ‘Identity’s’ and ‘Trust Keystore’ for all host (s) are created we configure the Oracle Weblogic to use them.
Set the enviroment
|
1 2 |
oracle> cd /u01/app/oracle/product/middleware/wlserver_10.3/server/bin oracle> . setWLSEnv.sh |
Create certificate directory
|
1 2 3 |
prompt> su - oracle oracle> mkdir -p /u01/app/oracle/config/ssl oracle> cd /u01/app/oracle/config/ssl |
Create certificates
|
1 2 3 4 5 |
oracle> java utils.CertGen password1 tss16.tss.local_cert tss16.tss.local_key domestic tss16.tss.local oracle> ls -ltr tss16.tss.local_cert.der tss16.tss.local_key.der tss16.tss.local_cert.pem tss16.tss.local_key.pem |
Import certificates in the Identity Store
|
1 |
oracle> java utils.ImportPrivateKey IdentityStore.jks password1 tss16.tss.local password1 tss16.tss.local_cert.pem tss16.tss.local_key.pem |
Create TrustStore
We maken de truststore aan door een kopie van JAVA cacerts te maken.
|
1 |
oracle> cp /u01/app/oracle/product/middleware/wlserver_10.3/server/lib/cacerts TrustStore.jks |
Password TrustStore
Het standaard wachtwoord van JAVA cacerts keystore is changeit.
|
1 |
oracle> keytool -storepasswd -new password1 -keystore TrustStore.jks -storepass changeit |
Copy JAVA CertGenCA Certificate
This wil become the CA certificate for this environment. Of course you can use your own CA certificate and selfsigned certificates.
|
1 |
oracle> cp /u01/app/oracle/product/middleware/wlserver_10.3/server/lib/CertGenCA.der . |
Import JAVA CertGenCA Certificate
|
1 |
oracle> keytool -import -v -noprompt -trustcacerts -alias clientCA -file CertGenCA.der -keystore TrustStore.jks -storepass password1 |
Configuration SSL for Node Manager
The node manager can also use the ´IdentityStore´ with the ‘Trusted Keystore “This can be configured in the file nodemanager.properties
|
1 2 3 4 5 6 7 8 9 10 |
oracle> cd /u01/app/oracle/product/middleware/wlserver_10.3/common/nodemanager/ oracle> vi nodemanager.properties KeyStores=CustomIdentityAndCustomTrust CustomIdentityAlias=tss16.tss.local CustomIdentityKeyStoreFileName=/u01/app/oracle/config/ssl/IdentityStore.jks CustomIdentityKeyStorePassPhrase=password1 CustomIdentityKeyStoreType=JKS CustomIdentityPrivateKeyPassPhrase=password1 CustomTrustKeyStoreFileName=/u01/app/oracle/config/ssl/TrustStore.jks |
Starting Nodemanager
|
1 2 |
oracle> cd $MW_HOME/wlserver_10.3/server/bin oracle> nohup ./startNodeManager.sh & |
Starting managed servers
For more information on how to start Oracle WebLogic Server and Managed Servers, see my article;
|
1 2 3 4 5 6 7 8 9 10 11 12 |
oracle> $MW_HOME/wlserver_10.3/common/bin/wlst.sh nmConnect('nodemanager','WebL0gic','tss16.tss.local','5556','AREA51','/u01/app/oracle/product/middleware/user_projects/domains/AREA51') nmStart('AdminServer') nmStart('soa_server1') nmKill('AdminServer') nmKill('soa_server1') nmServerStatus('AdminServer') nmServerStatus('soa_server1') |
WebLogic Server SSL Configuratie
Just like many parts of Weblogic,
Like many parts of Weblogic you can configure SSL in different ways. In this article we use the Admin Console of the relevant domain and WLST scripting.
There are 4 possibilities to select
- Demo Identity And Demo Trust. This is the default and uses the DemoIdentity.jks en DemoTrust.jks keystores
- Custom Identity And Custom Trust. In this option you create you own ‘Identity KeyStore’ and ‘Trusted Keystore’
- Custom Identity And Java Standard Trust. In this option you create you own ‘Identity KeyStore’ incombination with JVM cacerts ‘Trusted Keystore’
- Custom Identity And Command Line Trust. This option is only used when you don’t start the admin server and managed servers with the nodemanager.
In this article we use ‘Custom Identity And Custom Trust’
WLST Configuration
Wanneer wlst.sh verbinding maakt naar een beveiligde sessie. Bijvoorbeeld naar de admin server of nodemanager dan moet hij weten of de server trusted is, hij heeft dus ook eende keystore nodig.
When wlst.sh connects to a secure session. For example to the admin server or node manager it should know if the server is trusted.
|
1 2 3 4 |
oracle> vi /u01/app/oracle/product/middleware/wlserver_10.3/common/bin/wlst.sh WLST_HOME=$WL_HOME/common/bin WLST_PROPERTIES="-Dweblogic.security.SSL.trustedCAKeyStore=/u01/app/oracle/config/ssl/trust.jks" |
Login on the AdminServer
i.e. http://localhost:7001/console
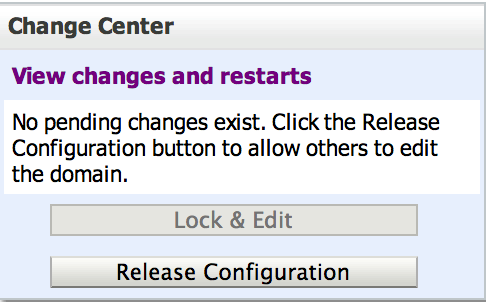
Click in the Change Centre box ‘Lock & Edit’
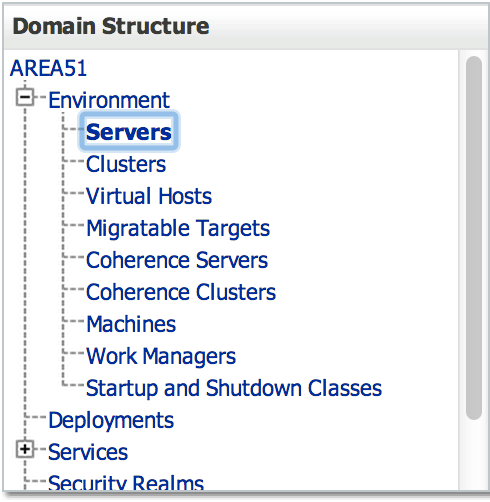
Click Environment > Servers.
Click the link AdminServer(admin).
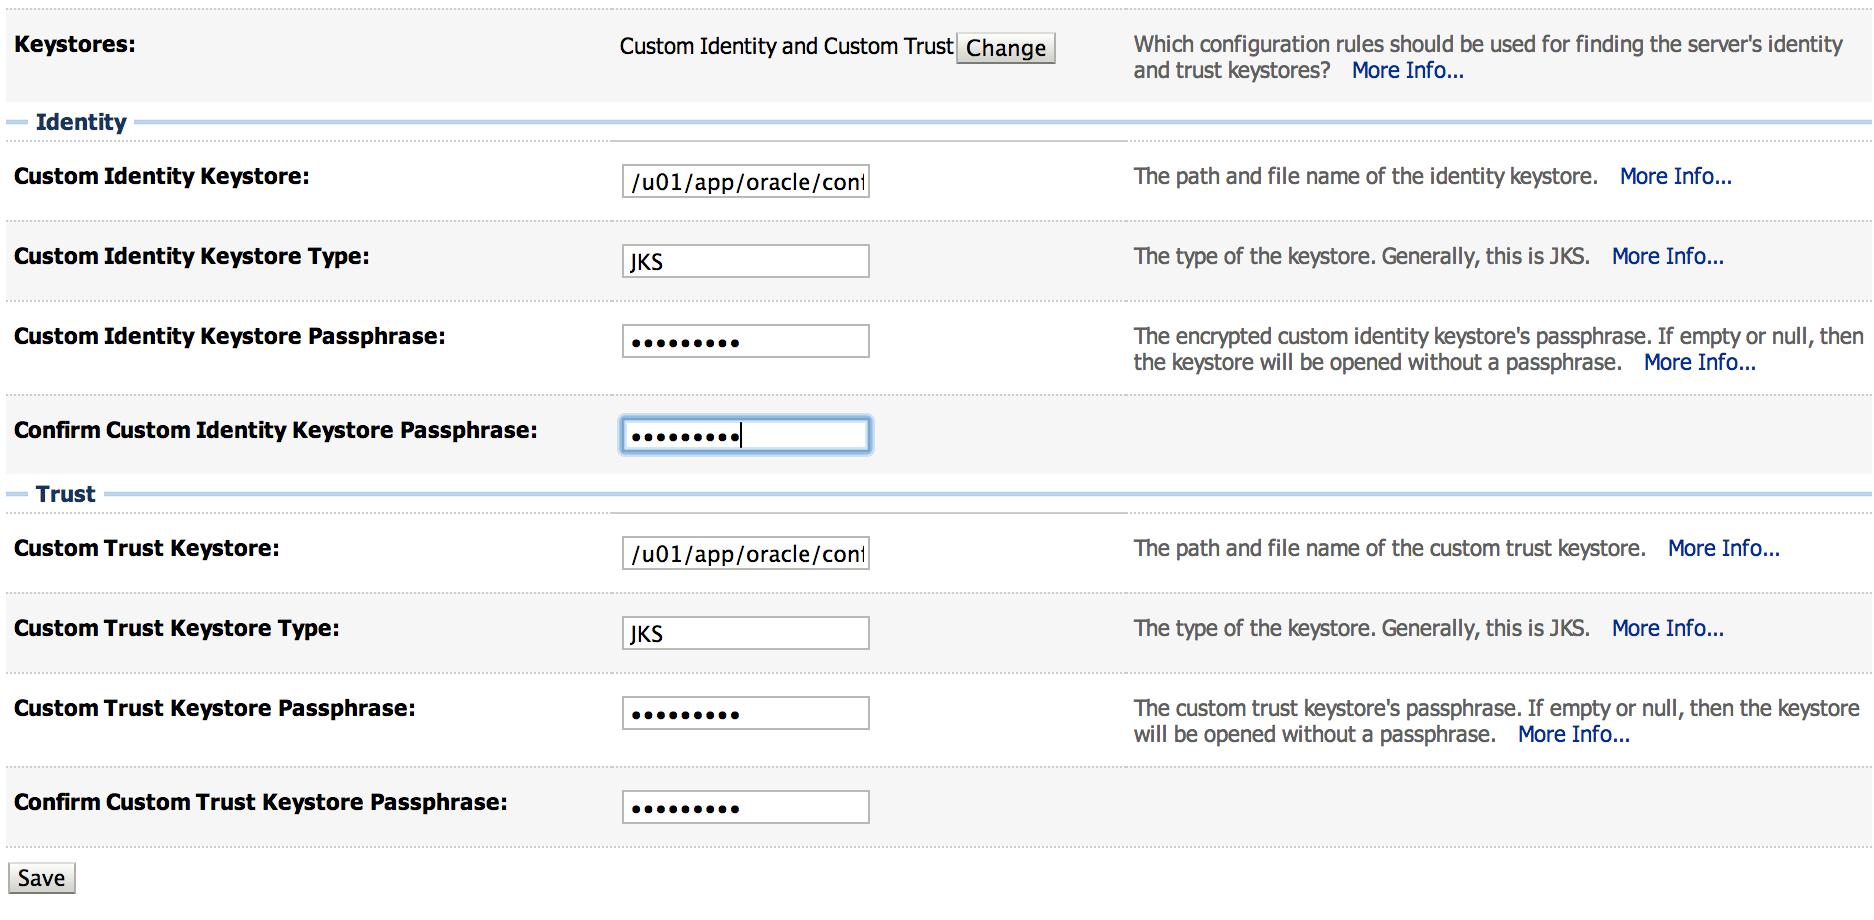
Click the tab ‘Keystore’ and the button ‘Change’.
Select Keystores ‘Custom Identity and Custom Trust’ click Save.
Identity
Fill in ‘Custom Identity KeyStore’ the path name ‘/u01/app/oracle/config/ssl/IdentityStore.jks’.
Fill in ‘Custom Identity KeyStore’ ‘JKS’.
Fill in ‘Custom Identity Keystore Passphrase’ ‘password1’.
Fill in ‘Confirm Custom Identity Keystore Passphrase’ ‘password1’.
Trust
Fill in ‘Custom Trust KeyStore’ the path name ‘/u01/app/oracle/config/ssl/TrustStore.jks’ in.
Fill in ‘Custom Trust KeyStore’ ‘JKS’.
Fill in ‘Custom Trust Keystore Passphrase’ ‘password1’.
Fill in ‘Confirm Custom Trust Keystore Passphrase’ ‘password1’.
Click Save.
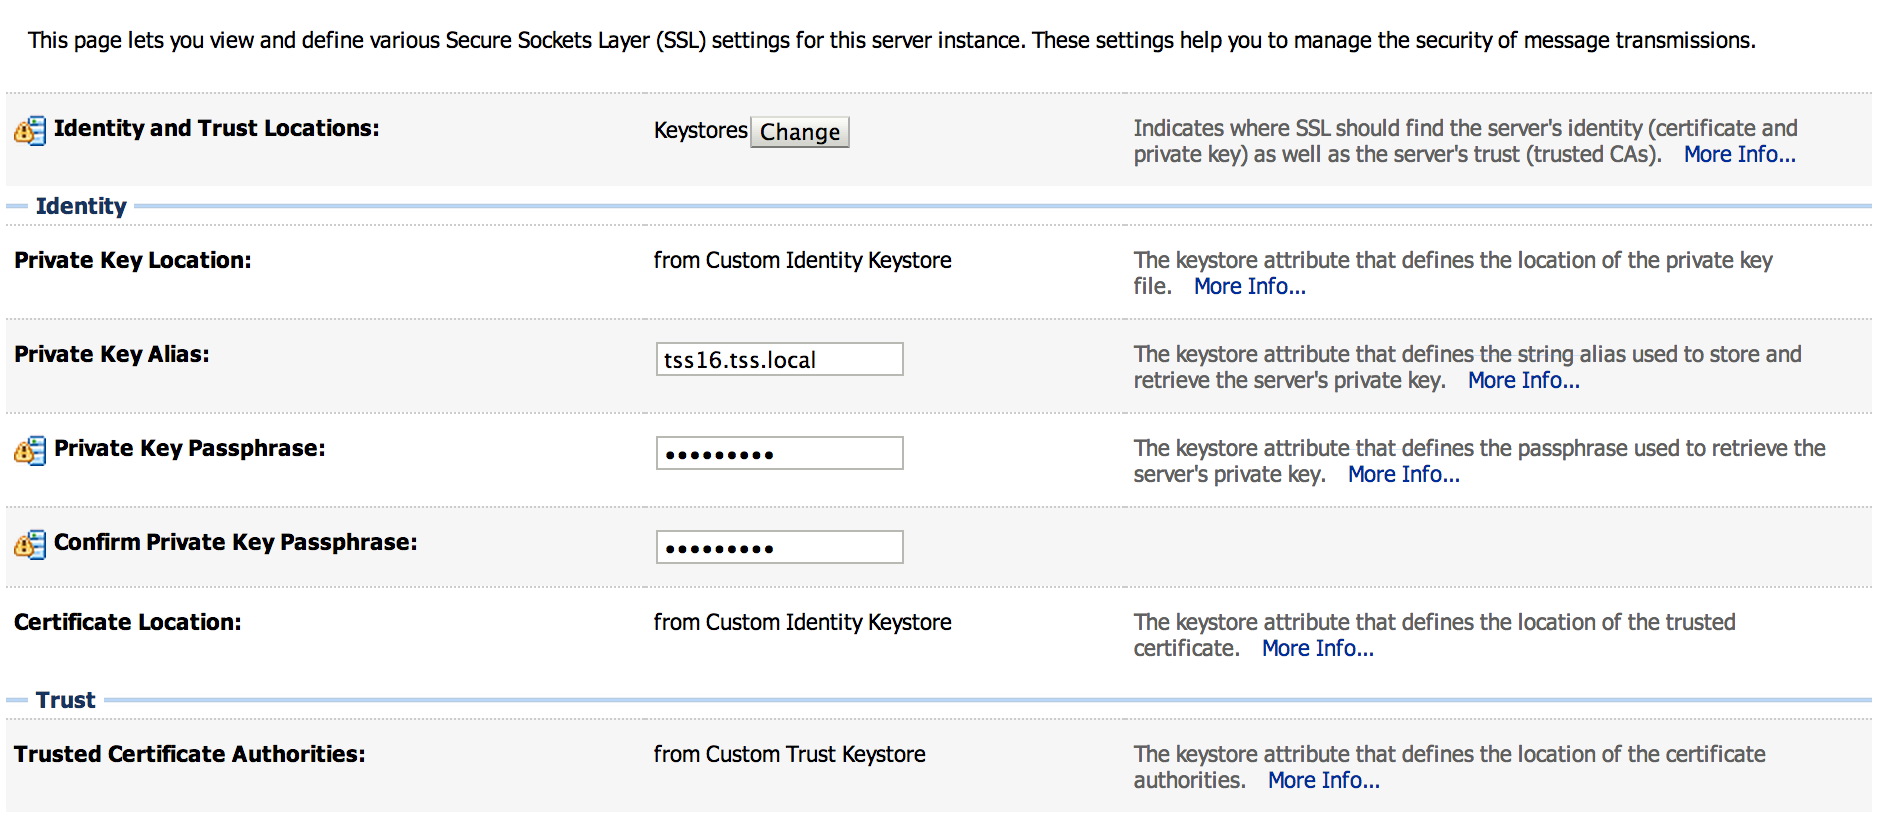
Click the tab ‘SSL’
Fill in ‘Private Key Alias’ the alias name ‘tss16.tss.local’.
Fill in ‘Private Key Passphrase’ ‘password1’.
Fill in ‘ConfirmPrivate Key Passphrase’ ‘password1’.
Click Save.
Click the link ‘Advanced’
Selectj ‘Hostname Verification’ ‘BEA Hostname Verifier’ and click Save.
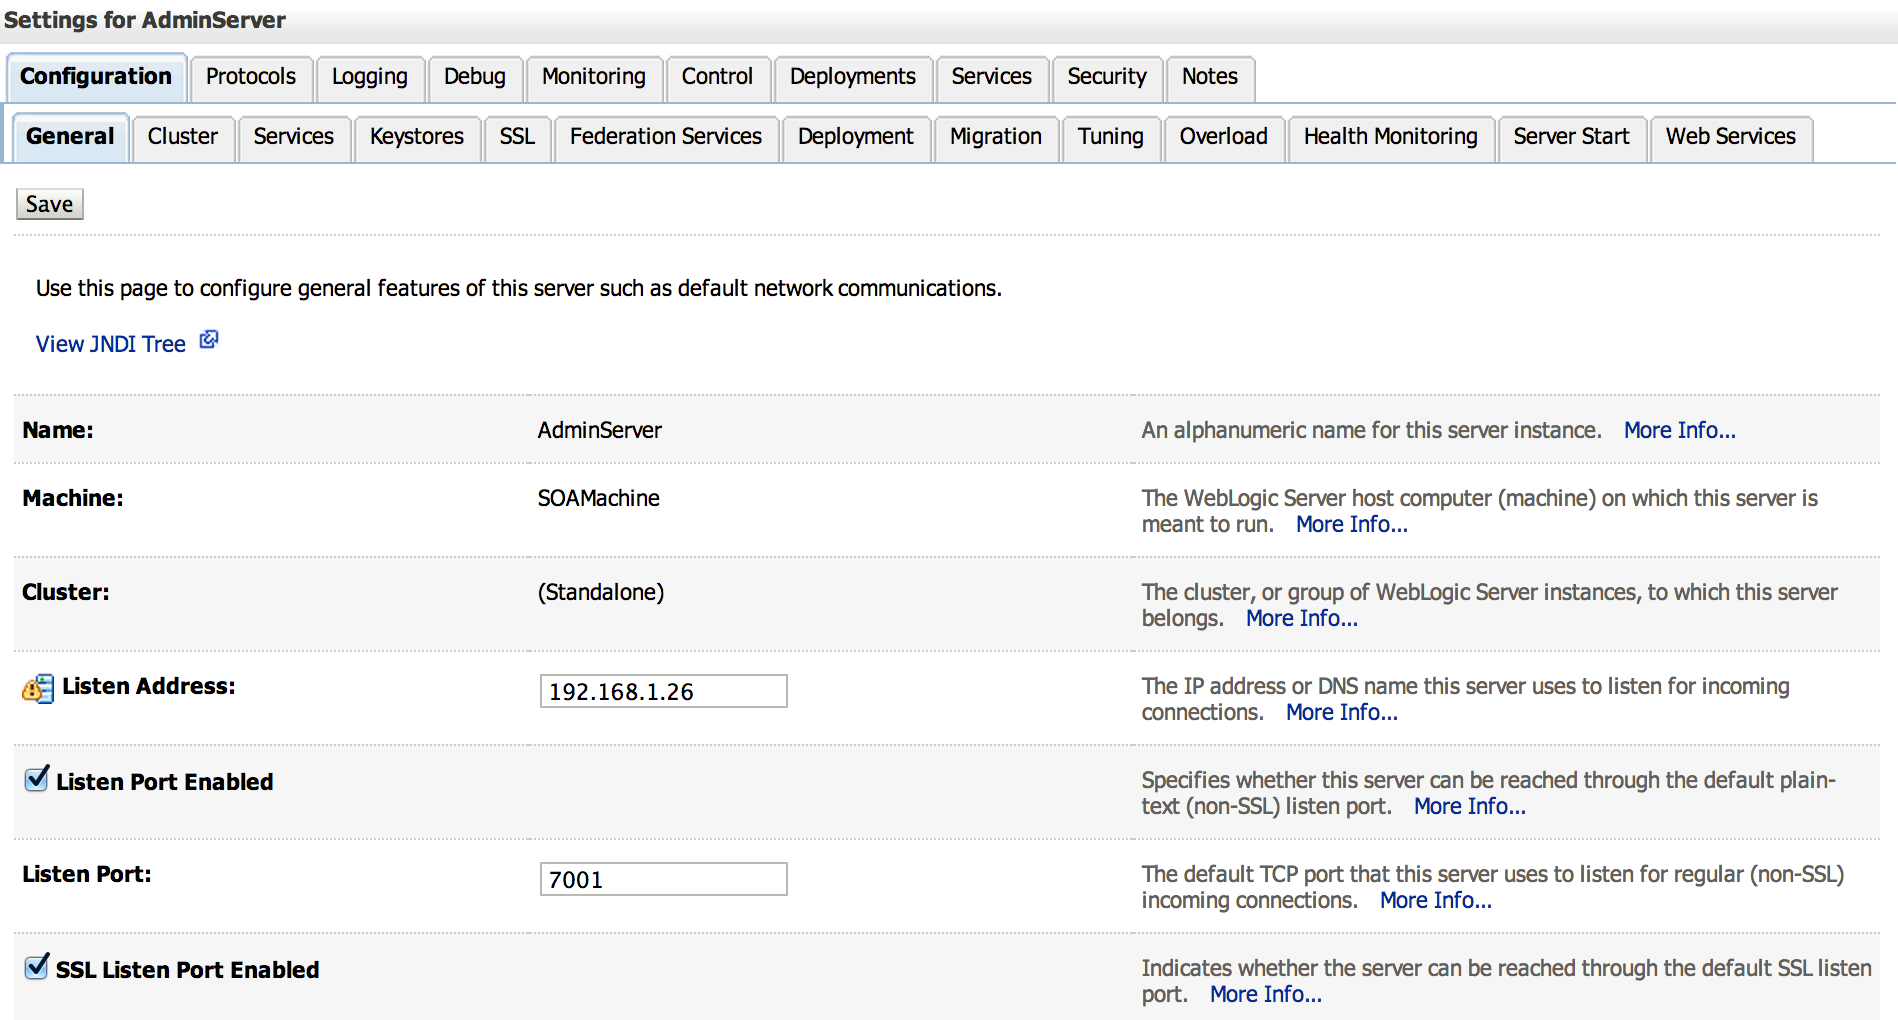
Click the tab General.
Select ‘SSL Listen Port Enabled’ when you want to connect the managed server over SSL.
Click in the Change Centre box ‘Activate Changes’
If you have more managed servers you can repeat the steps for each managed server.
Logging locations
|
1 |
tail -f /u01/app/oracle/product/middleware/user_projects/domains/AREA51_OSB/servers/AdminServer/logs/AdminServer.out |
Please let me know if this installation manual ‘Configuration SSL Weblogic Server’ was usefull to you. If there are errors or you have suggestions regarding this manual, please let me know.
No rights can be derived from this Installation manual
Regards,
Maarten




3 Responses to “Configuration SSL Weblogic Server”
susan
Hi there cool internet site! Male.. susan Fantastic. Fantastic. We’ll book mark your web blog and also use the for in addition? We are pleased to search out lots of handy information and facts right here inside the post, we’d like work out more methods this kind of value, thank you spreading.
Maarten Schoonus
Your welcome Susan 🙂
PavanHi
Hi,
I was surprised where would be the info regarding the ‘host name verified’ data?